Text Messages from Xcode
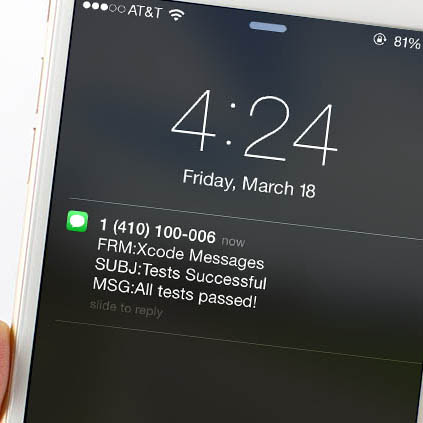
 Many tasks in Xcode can be quite time consuming: cleaning & rebuilding, UI testing, unit testing. Wouldn't it be convenient if you could step away and have Xcode send you a text message when it finished?
This tutorial will walk you through a simple setup for automated Xcode text messages.
While there are a number of interesting & creative ways of receiving automated mobile notifications as part of your development workflow, this is one option which is easy (and fun) to set up in just a few steps, and demonstrates the possibilities of Xcode's customizable behavior options.
Sending the Text Message
To deliver the SMS itself we'll take a simple approach: email. Most carriers allow SMS delivery via email, so generating a text message is as easy as writing a script for Apple's Mail app. SMS delivery is dependent upon carrier & region, so check your plan or ask your cell provider if you have questions about compatibility or SMS charges.Step 1. Finding Your Phone's SMS Email Address
 To determine your phone's SMS email address, find your carrier in the list below and replace number with your 10-digit cell number. (Note: the formats below are subject to change, and a few may be out-of-date. I've verified several of these, but YMMV.)
| AT&T: | number@txt.att.net
|
| Verizon: | number@vtext.com
|
| Sprint: | number@messaging.sprintpcs.com
|
| T-Mobile: | number@tmomail.net
|
| Virgin Mobile: | number@vmobl.com
|
| Tracfone: | number@mmst5.tracfone.com
|
| Metro PCS: | number@mymetropcs.com
|
| Boost Mobile: | number@myboostmobile.com
|
| Cricket: | number@sms.mycricket.com
|
| Nextel: | number@messaging.nextel.com
|
| Alltel: | number@message.alltel.com
|
| Ptel: | number@ptel.com
|
| Suncom: | number@tms.suncom.com
|
| Qwest: | number@qwestmp.com
|
| U.S. Cellular: | number@email.uscc.net
|
Example:
The email address for (555) 555-1234 on AT&T's network would be 5555551234@txt.att.net
Step 2. Sending the Email
There are a number of approaches here but we'll take an easy path and use AppleScript to send the message from our default Mail account. All we need to do is set the basic properties (subject, message, and recipient address). If you'd like to further customize your email there are a number of Mail scripting examples online, but keep in mind that the email content which is actually deliverable via SMS is limited.Here's an example script that will generate a message for passing tests:
#!/bin/bash

osascript -e 'tell application "Mail"
set theSubject to "Tests Successful"
set theContent to "All tests passed!"
set theAddress to "5555551234@txt.att.net"
set msg to make new outgoing message with properties {subject:theSubject, content:theContent, visible:true}
tell msg to make new to recipient at end of every to recipient with properties {address:theAddress}
send msg
end tell'
Notice that we're actually writing a standard shell script, with the AppleScript as an argument to the osascript command line tool, since Xcode will execute our script with Bash.
Step 3. Save the Script
Save your script and give it a .sh extension (you can save it to /usr/local/bin or another folder you prefer). If you'd like to give your script a test run, you can execute it from the command line by running the script directly:/usr/local/bin/xcodeTestsPassed.sh
If you get a permissions warning:
/usr/local/bin/xcodeTestsPassed.sh: Permission denied
You can fix this by ensuring your script has execution privileges with the venerable chmod:
chmod +x /usr/local/bin/xcodeTestsPassed.sh
Step 4. Automate with Xcode
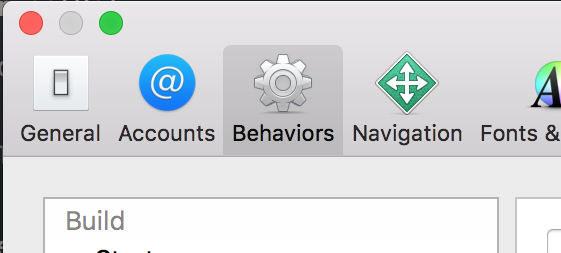
 Xcode's Behaviors preferences make it easy to execute our script as part of our workflow. For example, to execute the script when tests pass:
- Open Xcode's Preferences (File > Preferences...)
- Choose the Behaviors tab
- Choose the desired event (e.g., Testing > Succeeds)
- Enable the Run option at the bottom of the behavior options, and choose the location of your saved script

Result
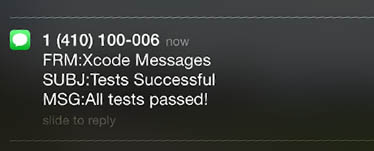
The example in this tutorial is a simplistic one, but this basic process can be custom-tailored for more complex workflows. Unique messages can be added for failing vs. passing tests, build success vs. failure, etc. The actual text message that is delivered will vary between carriers, but the end result is a convenient mobile notification sent from Xcode and delivered to your phone.